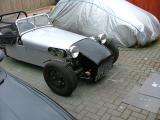
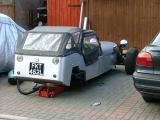
These are images of my repaint on the car - British Racing Green is a bit overused for my liking, and I wanted something for the new century.
I've also now got a new digital camera, so the images are larger.
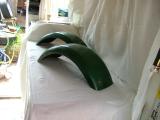
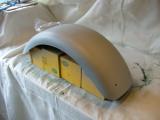
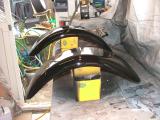
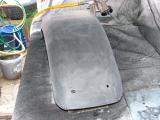
The first thing I did was to repaint the front wings. I actually bought some new parts, but they weren't the right size - for the moment, I'll stick with the old wings, and get some new ones later.
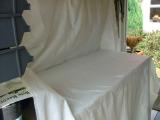
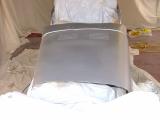
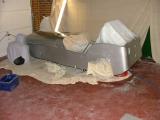
Preparing the area - I used my out-house to paint in.
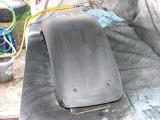
Sanding down the previous paint (more sanding was done after this):
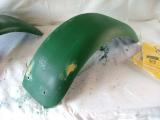
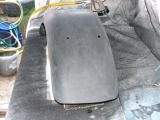
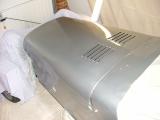
Then, I primed the surface:
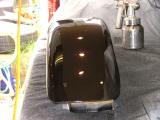
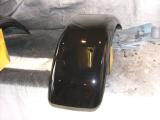
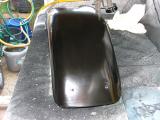
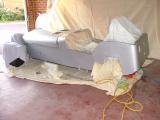
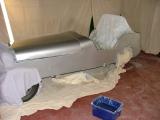
And put the base coat on (this was done in "base and clear" - i.e. flat colour and then lacquer):
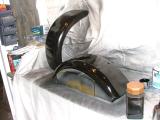
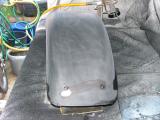
After that, the clear coat was put on it:

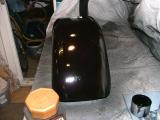
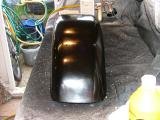
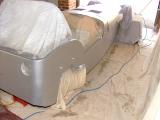
Looks pretty good, but needs flatting down for a perfect finish. Unfortunately, I started with too coarse a grit (600):
Then, 800 grit:
1000 grit:
Finally 1200 grit:
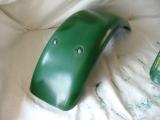
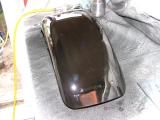
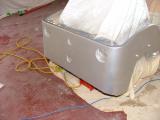
After a few rubbings with G3 rubbing compound (and some polish):
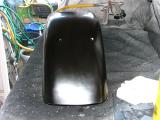

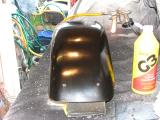
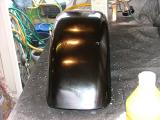
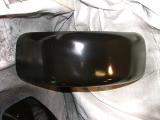
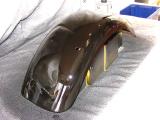
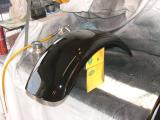
I showed it to Pete, who told me what I'd done wrong. Luckily, I'd only done one wing, so the other one I just started with 1200 grit. This one, I removed the polish, did another 600 grit and put another coat of lacquer ready for 1200 grit again. When it was done, it was actually pretty nice:
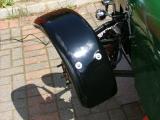
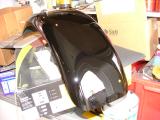
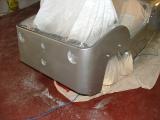
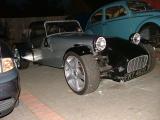
I did the nose in the same way (and eventually, I did the rear wings):
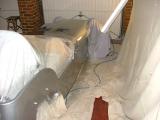
I used my next door neighbour's garage to do the painting in - my own garage is too narrow to paint in!

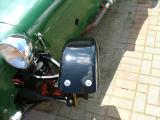
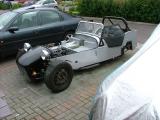
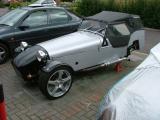
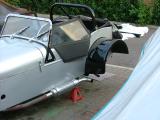
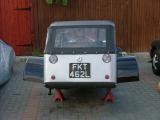
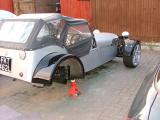
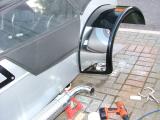
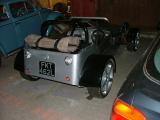
After repainting it, it was time to reassemble it - which took about a day. The rear lights were changed for clear lens and coloured bulbs. Originally, I used red and amber bulbs, but they were replaced during the reassembly (as described later). This had been trialled shortly before the repaint, but no photographs had been taken!
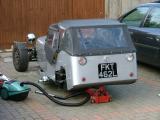
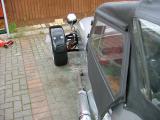
The wheels were spares from the Mondeo - one has a large slash in it, and the other is fairly bald on one side. Not legal, but fine for pushing the car around! (My Mondeo has its own spare wheel - which is perfectly legal). No point in ruining perfectly good wheels!
The other modification was the fitting of some button-head style number plate lights (from Demon Tweeks). This left a small hole under the filler cap (I hadn't decided what I was going to do when I was filling in all the other holes), but I'm willing to live with that (I may need that later on).
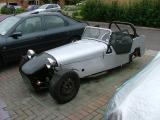


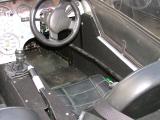
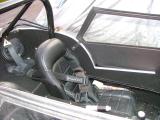
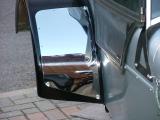
I also put some more carpet in (before the repaint, only the floors had carpet). The steering wheel was replaced with the one I had from my previous kit car (RW Karma) - it's actually slightly bigger than the Mountney one I had beforehand (11" as opposed to 10"). People still think it's too small - but then that would make it difficult to get in (or rather more difficult).
The next things to be painted were the rear wheel arches, and the nose cone was given another flat & polish.
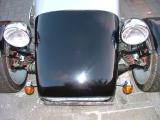
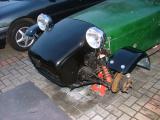
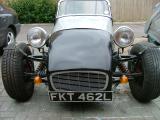
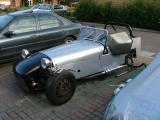
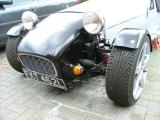
Decolouring the car was also one of my goals - so I replaced the front indicators with clear lens units, and some natty bulbs that are clear(ish) but light yellow. I'd like to use some LED lamps, but I've been told the resistors keep burning out. I've replaced the tail lights with LED bulbs.
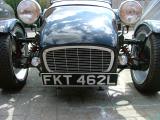
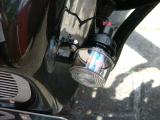
I also got some stainless steel mudguard protectors - sets off the car quite nicely!

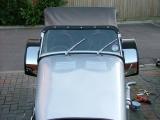
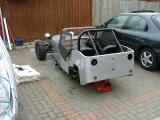
You may be wondering why there are no back wheels - the differential was out having a Quaife LSD fitted.

Unfortunately, after 12 miles, the gearbox decided it was time to give up, so I'm getting another one.